Large Bore Cannon
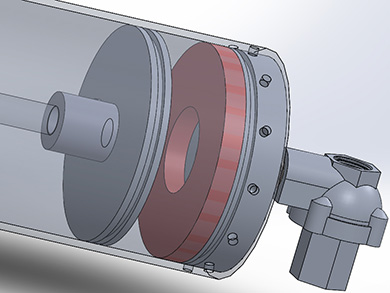
 There’s one last know problem. I’m not sure how to attach the rubber bumper to the cannon back.
I’m hesitant to use adhesive, because I don’t want the joint to degrade if the cannon sits in storage for years. I’m going for heirloom quality here.
I haven’t been able to think of a better method, so I’m going to give adhesive a shot. I feel like maybe I’ve just been using the wrong adhesives in the past, so I called up Loctite and asked what they recommend for this. I was actually able to talk to a person about it which was nice. The woman I talked to recommended #380 so I’ll try that. Hopefully I’ll get a pretty permanent bond.
I also bought a razor saw for 10 bucks on amazon to hopefully make cutting the rubber bumper easier. I tried with a razor blade previously, and it was just not having it.
I also bought a razor saw for 10 bucks on amazon to hopefully make cutting the rubber bumper easier. I tried with a razor blade previously, and it was just not having it.
 2. I cut out and attached the bumper.
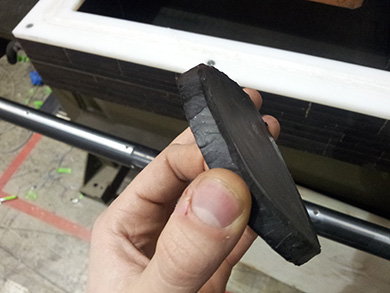
The cutting out part turned out to be very difficult. The rubber I used is soft, but tough and scissor resistant. I eventually got it cut, but the edge looked awful. It was usable, but I wanted to do better.
I tried a bandsaw (it just gummed up immediately). I tried lubricating the blade and sandwiching the the rubber with wood; that helped, but still left a nasty looking edge. I ordered and tried a razor saw but that didn’t work very well either. I was getting pretty stuck.
I started asking my friends at work about it. First response: “Aren’t you fixing a trim press right now that’s designed pretty much exactly for that?” …I probably should have thought of that. Anyway I was, and it's the perfect tool for this!
I started asking my friends at work about it. First response: “Aren’t you fixing a trim press right now that’s designed pretty much exactly for that?” …I probably should have thought of that. Anyway I was, and it's the perfect tool for this!


